Gary Semics riding techniques summary

nickt916

Member
Oct 22, 2005
30
0
I have watched 8 Gary Semics videos, and rewatched first 4 like 3 times already and will rewatch them a few more times to really get this stuff into my head before i start putting it into good use once im back on the back in the next week or so.

While watching the videos i also took notes wich helped me a lot to remember all the techniques. I figured why not put all that i have learned in a cliff notes set up so i can just skim it when ever i need to review some things.

I hope posting this will help others a little as well, and with give you an idea of what Gary Semics videos are all about. I suggest getting the first 3 and maybe even the forth one (wich is all about cornering) but some of the stuff is covered in video number 1. 8th video is also good for setting up the bike, but that info can be gathered from your manual and other online atricles. Once you start getting good then i suggest 5-7 videos because i think those are mostly focused on riders who race and are top level riders who already know the basics and have mastered them.

i downloaded and watched all the videos from www.totalvid.com i pretty much saved $200 there compared to buying all 8 videos
 
Last edited:
nickt916

Member
Oct 22, 2005
30
0
Mastering all 5 controls

-practise them separately to master them
-work on using just front brake
-work on using just rear brake
-then work on using both
-work on using clutch with throttle

Body Position

-grab grips up high with a lot of overgrab, this will help you keep elbows up high and to the side
-move upper body side to side, dont twist
-ride with low center of gravity
-attack position, arch your back slightly
-elbows up and out, lean forward, be able to read the number on the number plate
-weight on foot pegs first, on seat secondly not on handle bars
-keep low center of gravity
-make movements from center point
-keep upper body relaxed
-let the bike do all the work for you, dont fight it, flow with it

Cornering

-leave throttle on for 2 or 3 more seconds longer than you think you can into a turn
-attack position into corners, stand up and lean back during braking
-stick foot out late into a turn
-keep it close to the bike, dont stick it out and away
-dont lock your knee
-keep your toe up
-get foot back up on a peg as fast as possible
-use front brake in rutted burms, it iwll keep the front wheel in the rut and not jump out
-keep some weight on the outside peg
-sit on the gas tank
-lean forward
-keep as much weight as possible off handle bars
-apply slight amount of read brake to prevent front wheel from sliding out, on flat or off camber turns

squaring off turn

-accelerate to a turn, brake slide to square off a turn then give it gas
-after you get used to that work on going from a brake slide to a power slide

Ruts and groves

-look ahead into straight ruts, find the best way
-keep toes up in deep ruts or ride on balls of your feet in even deeper ruts
-in turns use front brake to keep front wheel in a rut

Bumps and whoops

-hang on tight but loosely, dont tighten up your body
-let the bike teeter totter under you,
-beginer riders hang on to tight and get a lot of arm pump (tired arms)
-Move back and forth not up and down on bumps
-on whoops keep most weight on the back of the bike
-grab the bike with your knees when not moving around as much
-dont have any gaps between bike and your knees
-dont put your weight on the handle bars

Braking

-when sitting and using rear brake, keep your right foot off the peg
-lean forward and sit on the tank when doing power or brake slides
-lean back when braking before a turn
-drag rear brake over bumps to keep the bouncing of the rear to a minimal
-use front brake into a rutted corner it will hold the front wheel in place and it will never bounce out
-use front brake slightly, half into a burm

Jumping

-if your front is to high in the air, use rear brake to bring it down
-if nose is low in the air get on the throttle to bring it up
-drag rear brake slightly to keep bike low on a jump and get less air
-stand and lean over the handle bars before the jump
-get on the throttle 2-3 feet off the lip to keep the bike leveled or to bring the nose up higher
-use seat bounce for more air and distance
-on more flat landings keep front wheel about 6 inches higher than rear to soften the landing
-for angled landing bring nose down
-if you need to brake as soon as you land, let the front wheel land first and slightly apply front brake
-when you land give it gas to keep tension on the rear so it wont bounce and keep momentum
-on hard landings lean forward then row back for better absorption

PRACTICING

Training 1-2 hours daily is better than 8 hours once a week. Change directions offten and work on the weak points more offten. The drills are more effective when practiced frequently for short periods of time. If you get frustrated, get away from it for a while and try again, then again, and again... practice makes perfect.

-practice things separately
-set up a little track and ride it at a comfortable speed and be aware of how you support yout weight.
-practice using front brake a lot sitting and standing
-practise brake slides and power slides
-practise using rear and front brakes while sitting, standing and leaning forward and back
-flat dry and wet conditions are good to learn power slides

Be comfortable with center location

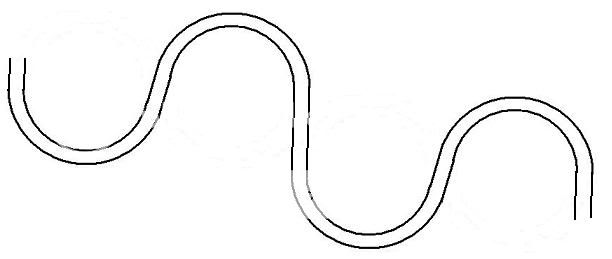
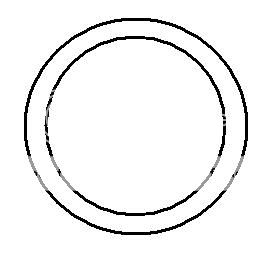
1.Circle, Figure 8 and Slalom track.
circle.jpg

figure8.jpg

slalom.jpg


- 5-10 laps each direction, only sitting, only standing, and normal way

2.Circle, Figure 8 and Slalom track.

- 3-5 laps each direction, use comfortable speed and use only front brake
- 3-5 laps each direction, use comfortable speed and use only rear brake
- 3-5 laps each direction, use comfortable speed and use both brakes

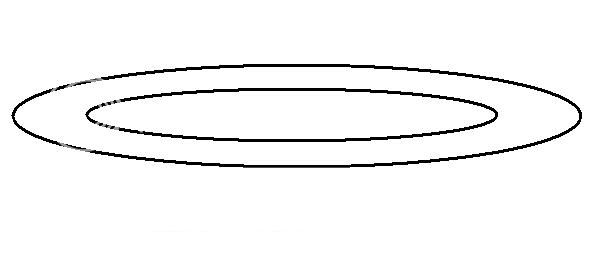
3.Circle track

circle.jpg


- dont use your brakes
- 5-10 laps in 2ng gear practice leaning and turning in a circle
- 5-10 laps pick up speed in 2nd gear and try to lean and slide
- push on the outside peg
- keep outside leg tight against the gas tank

4.Figure 8 track/oval track
2 tracks in one

figure8andoval.jpg


- practice sitting, standing, normal way
- practice in 3 different speeds
- spend some time on slow speed to get used to the proper techniwues, do everything correct
- after you get comfortable, pick up the speed, yet stay aware of proper movements and techniques
- do it in full speed but keep in mind only go as fast as you can remain being relaxed, do all
techniques correctly and not make mistakes.

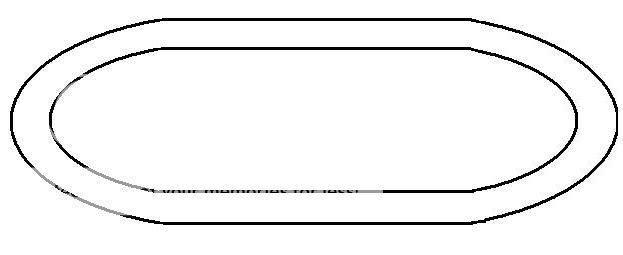
5. Oval track 1

oval.jpg


- practise on accelerating, braking and leaning into a turn
- work on using good front and rear braking
- once comfortable work on power sliding

6. Oval track 2
squaring off turns

squaringofftrack.jpg


- first just work on brake sliding to get comfortable with it
- accelarate, then use rear brake square off a turn then accelerate with a power slide


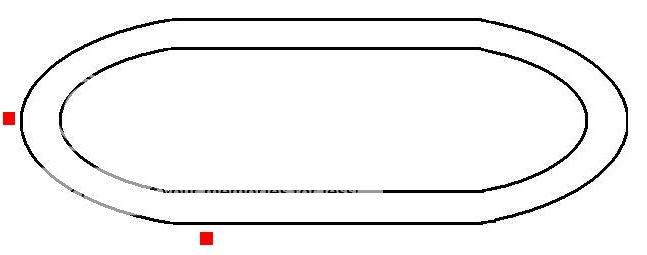
7. Oval track 3
off late on early

ovalwithmarkers.jpg


- set up markers for braking and accelerating points
- off brakes later and on gas early
- adjust these markers to have more speed into a turn and get on gas on early out of a turn
 
Last edited:

nickt916

Member
Oct 22, 2005
30
0
Id say video 1 and 2 are most benefitial for beginners and new riders. You can e-bay them sometimes. I actually went to www.totalVid.com and downloaded them all. They are $3.99 to download each and watch, but membership is $9.99 monthly with unlimited downloads and you get first 7 days free and can cancel at any time, its definitely worth the $10

took some time to take notes and retype yes, and you are welcome, but this benefited me very much as well, because the longer i worked on it the more it stuck to me, so i can proudly say im a pro now (mentally ) now it will take some much devoted time to perfect it all physicaly. A month ago when i went to my first track (E street) and being a beginner i had no clue what i was doing and thats how i got hurt. Hopefuly the next beginner wont make the same mistake and maybe benefit from this thread or from one of Garys videos and become a better neginner than I.
Go to Top of Page
 
Last edited:

anca

Member
Nov 7, 2003
43
0
Sorry , maybe i didn't understand it right, but for that money you can view it for a limited time (as long as you are paying that subscription). If you want it forever you have to buy the dvd. Am i wrong?
 
Top Bottom