Sunk and Hydro-lock
- Thread starter sr5bidder
- Start date
You are using an out of date browser. It may not display this or other websites correctly.
You should upgrade or use an alternative browser.
You should upgrade or use an alternative browser.
- Thread starter
- #53
thanks! I like it to!!
yesterday I went home and cleared the benches and organized the operating room, also I ordered my main bearings and hope to have the bottom end buttoned up this weekend ..but I have the Metalica concert on sunday night!!! :cool:
I have emailed Eric Gorr and no response so I am going to probably send my cylinder and head to RB Designs, I have to talk to him about the sleeve though I think it could be port mached a little better that the original install, but then again it ran real good and money is tight.
anyone ever massage the case where the transfer ports are like at the top of the crank area, it seems like a sharp square edge??
been reading performance tuning by Gram Bell
- Thread starter
- #54
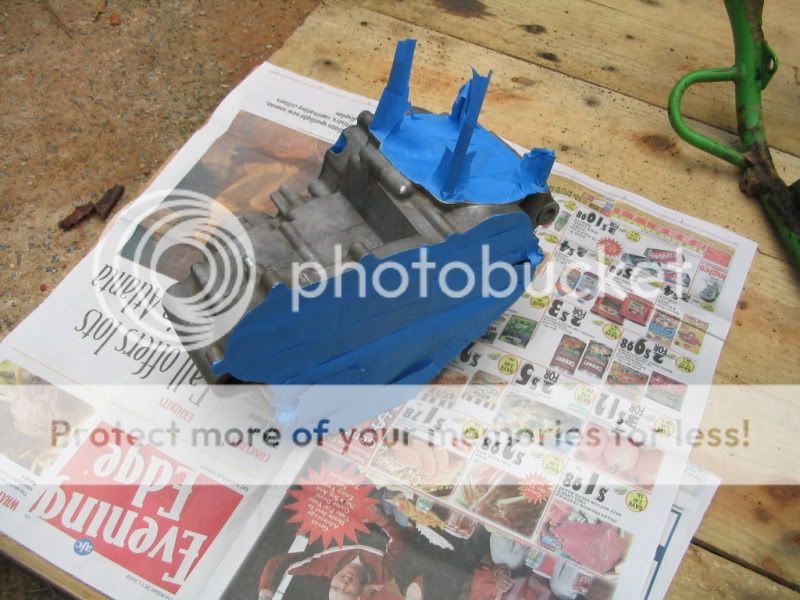
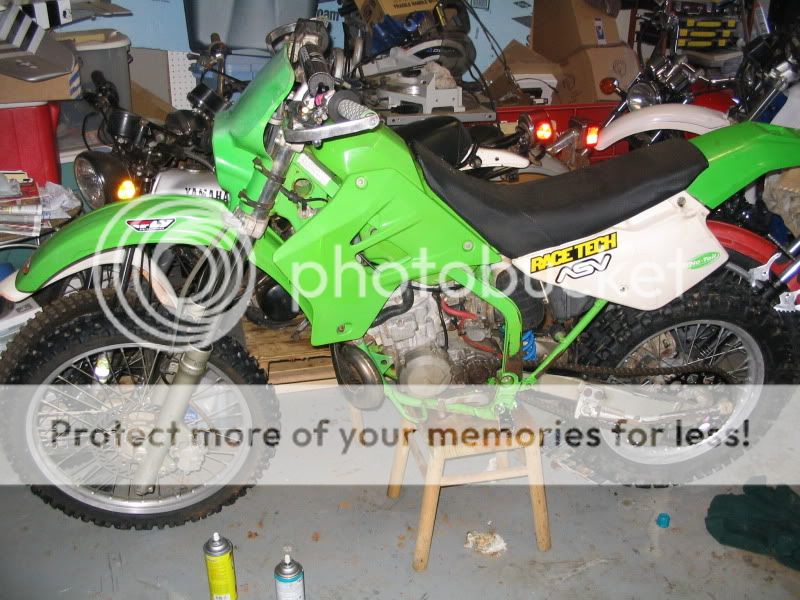
Thought black would clean off better that the semi-poris aluminum
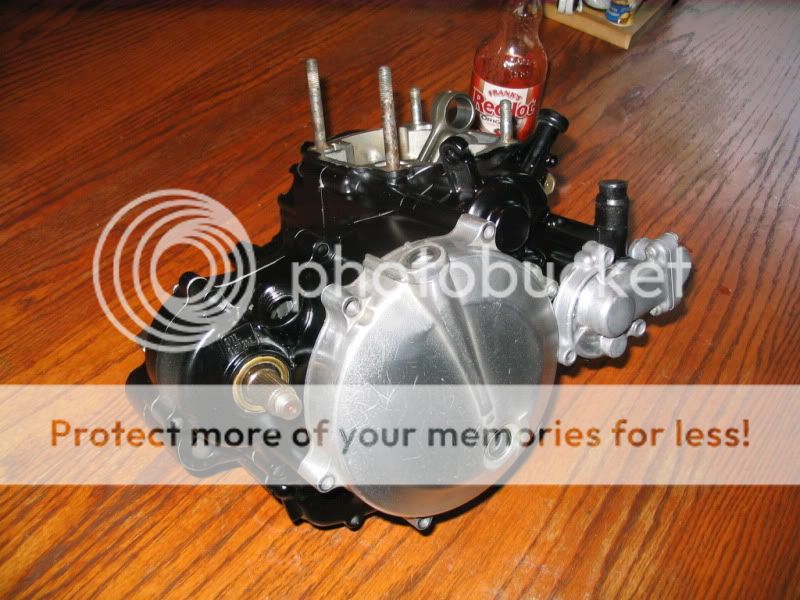
so here she is waiting for the piston and cylinder to make the trip to Portland, OR. and back also need to get with the stealer for clutch, outer clutch, and water pump gaskets....
will honda bond 4 be good for the inner clutch cover and h2o pump or is the clearance needed??
the outer clutch cover I definitly want a gasket
- Thread starter
- #56
Ron Black has my cylinder and new piston I tried eric gore but there seems to be something going on there I dare not ask his service is shut down till november
but my parts should be back just in time for the wife and I to go on our getaway in TN
on a different note I cleaned the garage today and made room for my 1985 rm125 the engine needs help and I plan on trying to "adjust" the power band... would like to end up with something between the kdx and the yamaha dt series???
port maping is tough
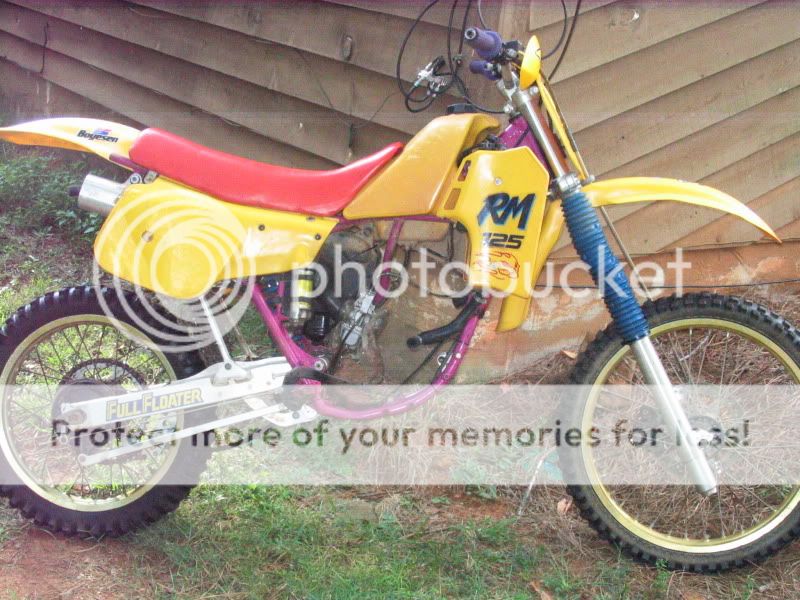
That 125, ugly yes, the power was crazy broad, compared to the 79ish 125's. Too bad about Eric(vacation?), I would have waited, or hit up someone else. Pete Payne for one! I used to think the disco days was bad, the mid 80's, gender benders coming out of the closet and mullets was bad also! Vintage Bob
- Thread starter
- #60
broad?? when I redid the piston the first time it had zero down low power and hit like slingshot "when it decided"
as far as who I picked to match my kdx cylinder and piston, I feel good about it Ron returned every email with answers to every question I had and also sent one about the notes I had in the box when shipped
ALso ron was willing to work with me on the old rm125
as far as who I picked to match my kdx cylinder and piston, I feel good about it Ron returned every email with answers to every question I had and also sent one about the notes I had in the box when shipped
ALso ron was willing to work with me on the old rm125
broad?? when I redid the piston the first time it had zero down low power and hit like slingshot "when it decided"
Sounds like the old 89 yz125 we just rebuilt. Nothin down low and then, DAMN HANG ON!
The question will be can RB epoxy and modify it correctly. He is a shiny port job guy. Good luck. Its a kdx, you would really have to screw it up bad not to be a performance gain. Pete is not far from you, and old school to boot! Them bikes do not have to be real pipey, there are ways. Held back on some because of parts availability, but. Vintage Bob
I did take it as odder than usual to use epoxy on a kdx. The nothing down low, then hang on, incorrectly ported or a bad pipe and silencer combo. They can be fixed. Vintage Bob
- Thread starter
- #67
Well I received my cylinder back from Ron Black in the mail yesterday..everthing looks good I cleaned it,masked it, and gave it a few coats of black.
in the exhuast flange I noticed some groving made by the o-rings on the pipe so I cleaned it out with a dremel and contact cleaner and mixed up some epoxy and coated the grooved areas of the head, then when it was almost fully set I used a razor blade to shape it And remove excess material.
tonight I will finish sand the rest and givie the cylinder a bath and install it on my bottom end.
one thing I noticed is the sleeve was not matched up to the cylinder well in the intake "t" port area and when it came back from Ron it was I may have been sleepy last night but was looking at where the ends of the rings land in the cylinder and it seemed the y would hang up on one of the ports...O-well I'll check it out tonight reall good
- Thread starter
- #68
well I got my cylinder on and had to wait for gaskets and a few roll pins that some one had left out previously.
Last night I got the engine installed and had a bitch of a time with the outer clutch cover, the kick starter would bind up when tightened, I found that the spring need not be squished back all the way over the nylon bushing but the thin metal washer needs to be seated against the nylon within the spring all is well!
tonight I will finish with the left radiator water neck, carb, chain, outer clutch cover, tank, filter,pipe, seat and type F
then most likely oil foul the plug from all the 2t oil in the crank case asssembly.
I wasn't so good on the bag and tag for the parts as I have been in the past and its really slowed me down (mosty the m6 bolts) another mistake got me pretty good, I had used the mounting bolt to help pull the cases together (installed from the right, but I forgot to remove them befor I put the clutch cover on and the one just below the head required me to remove the cover as the water outlet from the clutch cover did not allow the bolt to be removed :bang:
I did discover though that ever bolt/ nut combo on the kdx is installed with the bolt going in from the left with the nut on the right...swing arm, suspension links, enginge mounts, rear axle...you name it!!
BTW the black enginge looks real nice in there, I'll get some pics
reepicheep
Member
- Apr 3, 2009
- 670
- 2
I feel your pain with that inner clutch cover. Amazing how many stupid little fussy things can go wrong putting that thing on. The one that finally bit me (after having it on and off successfully maybe 10 times) was the shifter... it can get shifted out, and bind when you are trying to screw down the cover. It's there on the bottom and occluded by the frame, so it's next to impossible to tell it's binding until you hear the $100 "tink" noise, and that cover cracks.
Here (from memory, somebody should make it complete and put it on a sticky somewhere) is the checklist for that cover:
The Perils of the Inner Clutch Cover.
1) Make sure the gasket for the little KIPS cover up on the cylinder is over the upper KIPS assembly in the cylinder. The cover goes on fine over the already assembled unit, but the gasket has to be up there before you install the inner clutch cover.
2) Make sure the KIPS inertial advancer assembly is in place. The white nylon gear should be sticking out of the inside of the cover as you hold it.
3) Make sure the kick starter inner white nylon cover has it's little notch facing in towards the motor, and that it is over the spring post where it goes into the shaft. It should be seated very deeply inside that spring.
4) Make sure the other end of that kick starter assembly spring is deeply inserted in the case and snug. Listen for it to "pop out" when you are trying to wedge that inner cover over the shaft but around the sloppy weld bead in your frame, if it does, start over.
5) Make sure the shifter mechanism is deeply seated, especially if the you were working on that other side of the bike while the inner clutch cover was off (or if the bike fell over on that side while the inner clutch cover was off).
6) Make sure the inner clutch cover gasket is there and not out of place or cocked. The easiest approach is probably to have the pins in the motor (instead of the cover) and the gasket over those pins.
7) There is lots of annoying wiggling when putting the cover on. The gear that drives the KIPS advancer has to engage in there, and the top KIPS pawl has to engage the little gear in the head. Meanwhile, the kick starter shaft has to be lined up, and is spring loaded, but not supported snug yet... so if you wiggle too much that spring post will back out part way. Maybe it'll get pressed in as you put the cover on... or maybe it'll bind and crack the cover. You feel lucky? My best luck has been with gently trying to get the cover over the kick starter shaft, listening / feeling to see if that kickstarter spring post backed out of the case at all, then putting on the kickstarter lever and using that to slowly rotate the engine while putting some gentle pushing on the clutch cover. If things are right, it'll drop into place pretty easily.
8) Go slow, use a torque wrench, and before you apply *any* torque beyond finger tight, lean the bike over or use a dental mirror to make sure you aren't using the bolts to try and close a gap on the bottom of the motor. If you are, the shifter or kickstarter spring aren't in the right place, and you will likely crack the cover.
Lots of fussy little things to go wrong, and I haven't even touched on the stupid little washers and shims and index marks on the kickstarter assembly and clutch. If you took the kickstarter assembly apart, when you put it back together, there are some non obvious dots you have to line up... otherwise your kickstarter return spring won't end up with the right tension.
Likewise, the clutch has it's own ugly stack of shims and spacers. It's easy to criticize somebody and say "you should have paid attention when you took it apart", and that's true, but there are also a lot of people like me that bought used bikes from somebody who did a lot of dubious things...
So at least on both KDX's I restored... the fact that it was a certain way when taken apart had little to do with the way it should be put together... :( The manual gives a little help, but leaves some glaring holes. The exploded parts diagram is more helpful, but does not give enough information in a lot of places... things like "Washer, part number 1234-567". Well, that doesn't help me know if that washer that was in there, that seems to fit funny, was part number 1234-567, or some other part that the previous owner slapped in there from a great big pile of unsorted washers he had in pile from when he took it apart. It'd be nice if for all the ambigous and similar looking washers, Kawasaki would tell you how to tell if the thing in your hand is actually part 1234-567, by giving an inner diameter, outer diameter, and thickness. I don't need specs for every part, just the ones where your sloppy engineering lead to the need for having 9 washers and shims of subtly different sizes all on the bench at the same time for a given job...
Thanks for letting me rant. I feel better now. :)
That about "covers" it Reep, no pun intended? Vintage Bob
reepicheep
Member
- Apr 3, 2009
- 670
- 2
I wonder how many KDX's are running around with the bottom of that gasket cut so it could be put over the KIPS rod.
C'mon people fess up. The truth will set oyu free! :)
C'mon people fess up. The truth will set oyu free! :)
- Thread starter
- #73
what really helps is if you wait to assemble the clutch till after the inner cover is on you can reach in and turn the water pump gear and kips gear so they go in smoothly
also it really helps to pull that kick start shaft with your finger while starting the cover on to avoid the sloppy weld
also it really helps to pull that kick start shaft with your finger while starting the cover on to avoid the sloppy weld
- Thread starter
- #74
well i got it all back together last night and it hit on the second kick!!
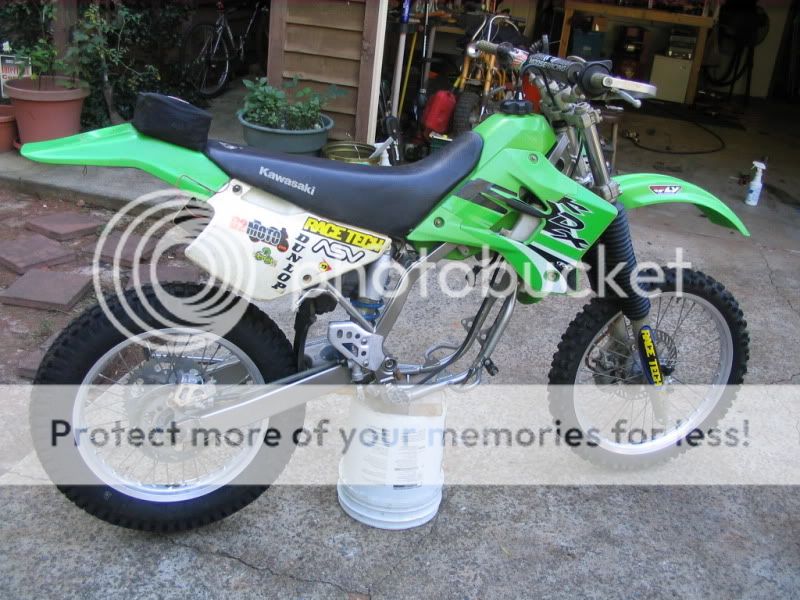
I have run it though 4 heat cycles 1 last night and 3 today, I have found no leaks and I think the rings are set in, the kips is louder than ever propably cuase its clean.
I took some pics so y'all can see waht the black engine looks like installed I just don't have my 1984 kdx headlight straped on yet enjoy
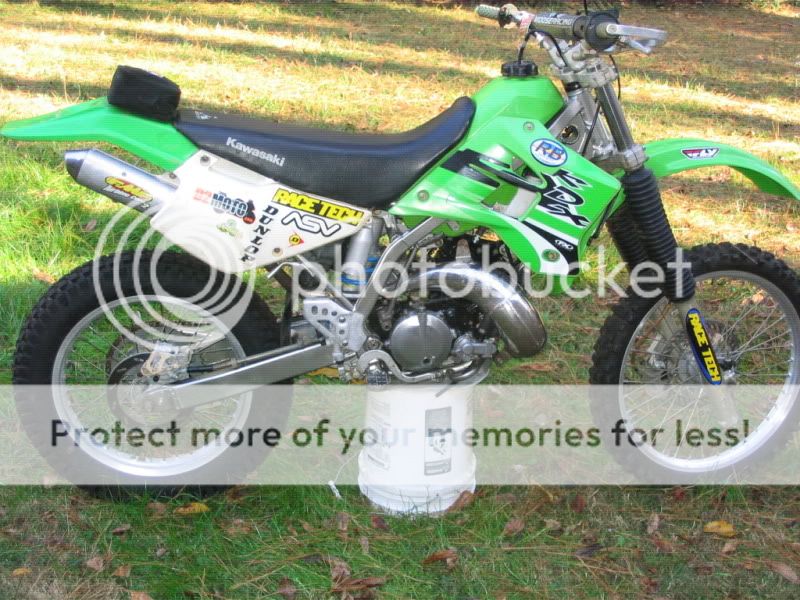
Similar Topics
- Replies
- 12
- Views
- 2K
- Replies
- 7
- Views
- 1K